dreamshark: (Default)
Okay, time to abandon all those other little concerns like global pandemic and collapse of civic order and get the F***ing air conditioners into the windows!!!

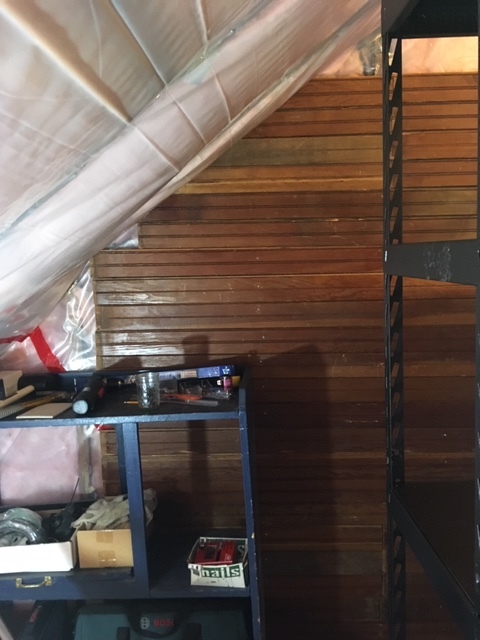
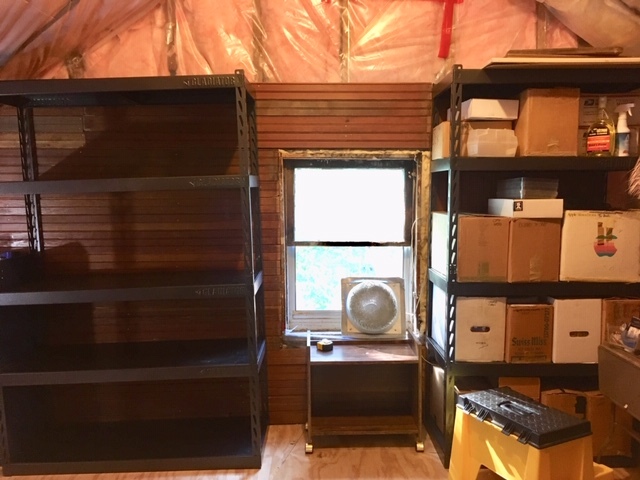
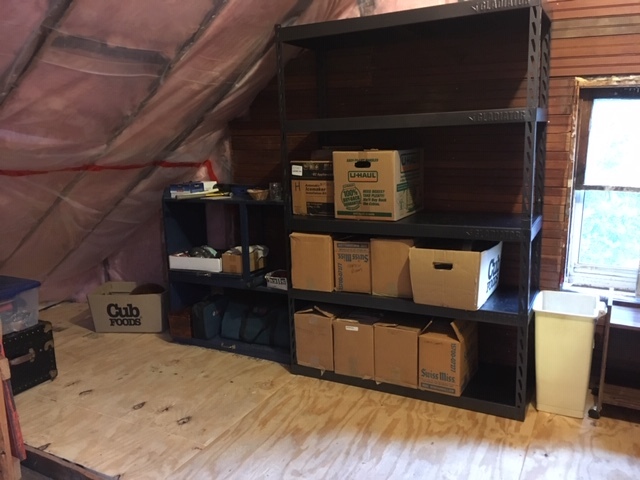
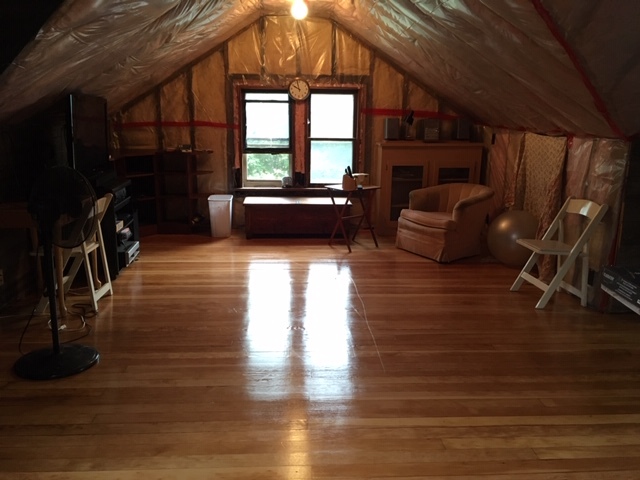
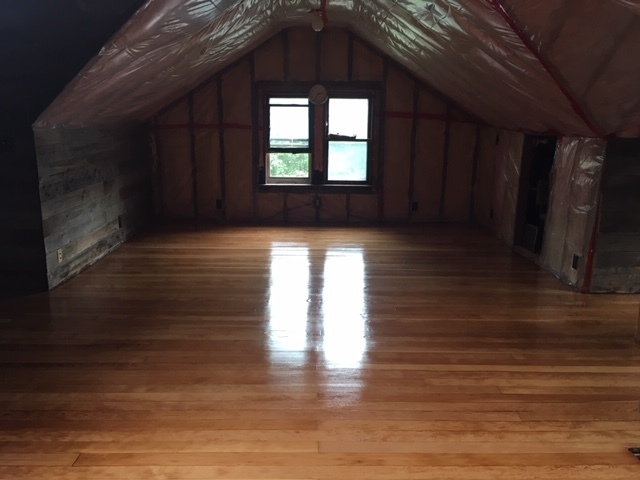
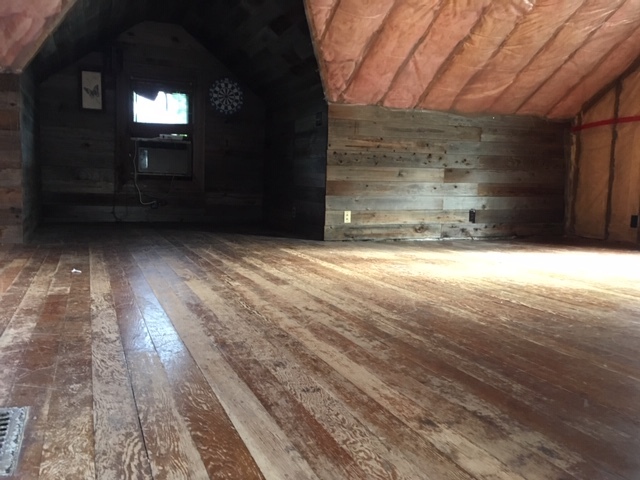
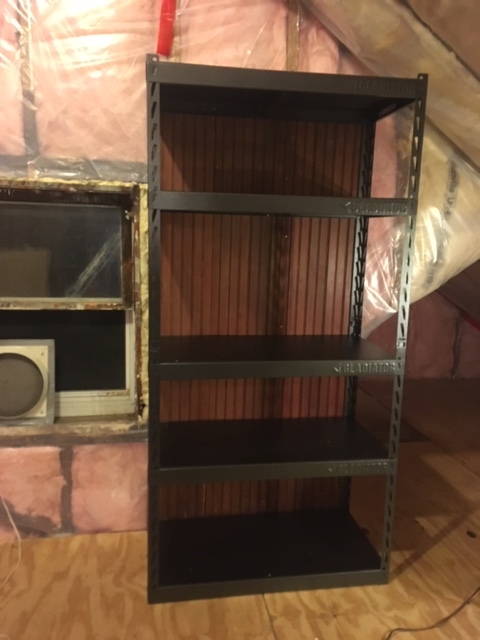
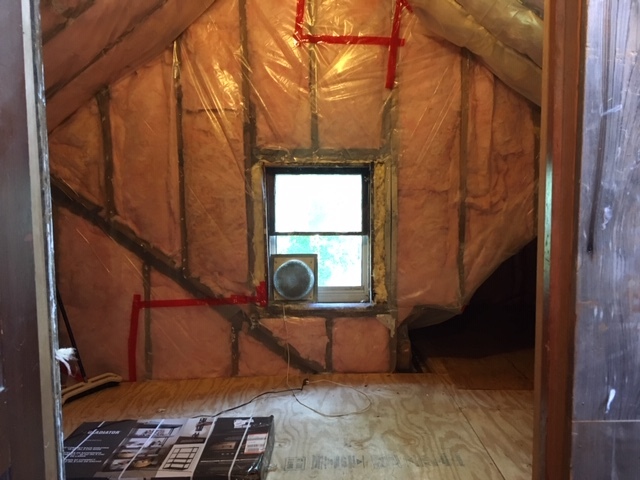
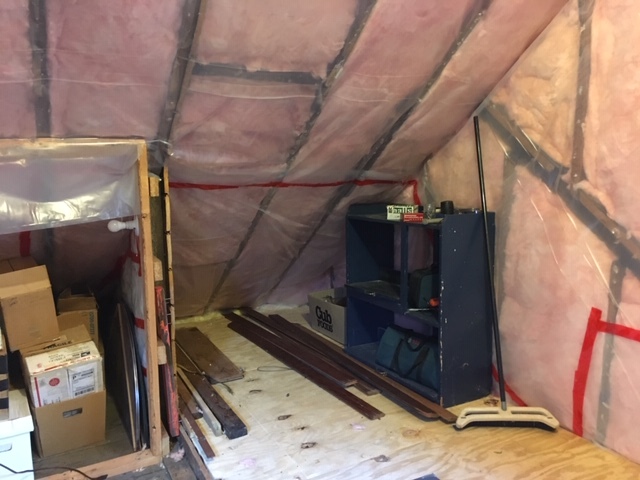
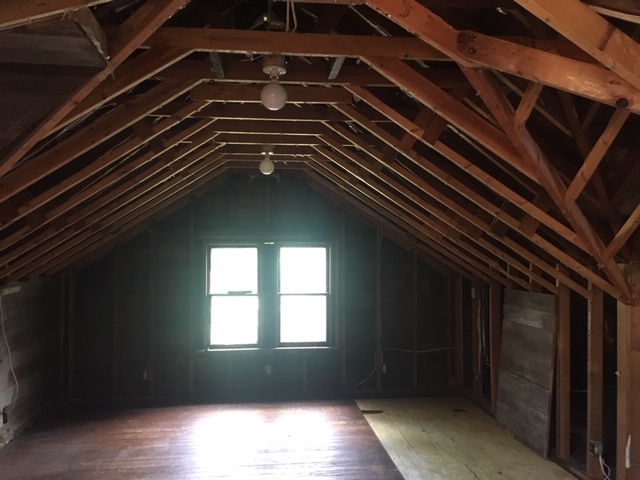
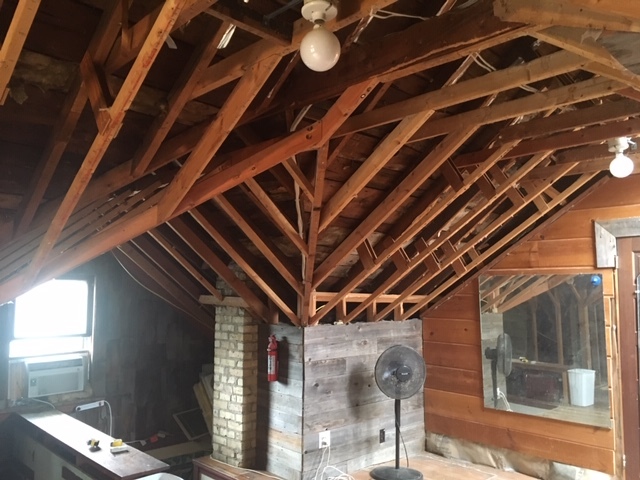
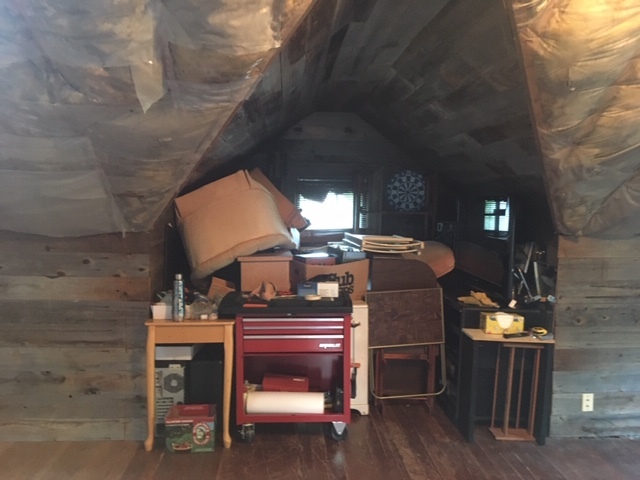
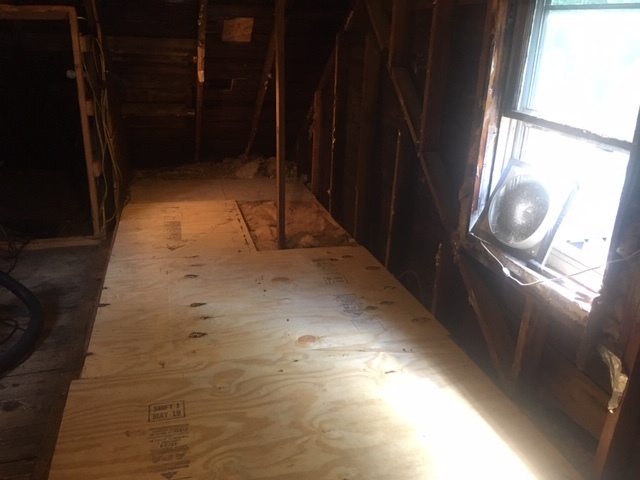
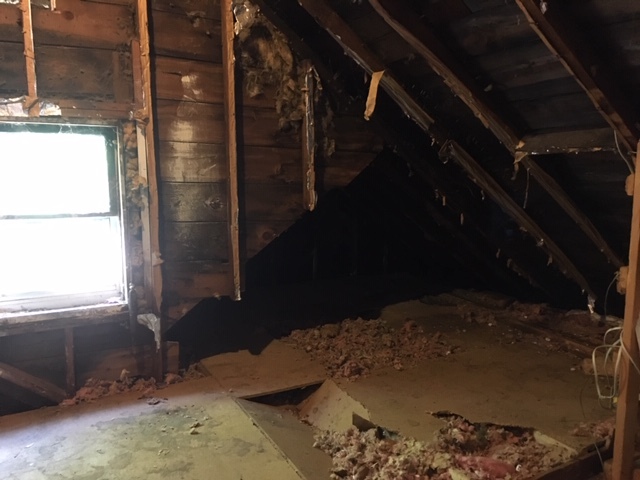
This wouldn't be so hard (at least with Thorin around to lift them) if each unit didn't require two custom-cut 2x4's to fill in the gap below the sill of the  storm windows. I have cut those pieces of wood for every single window that has an A/C unit and every year I can't find them. In fact, this year I couldn't even find one of the air conditioners, because I had renovated the attic and removed the old dresser in the storage room where we used to leave it. Finally located it, still in the attic, but now tucked into the new under-eave storage areas fondly nicknamed Squirrel Cave. Thorin and I between us have found about half the 2x4's. I am about ready to go cut some new ones, like I do every year. When the old ones show up maybe I'll have enough to add an addition to the house. 

Okay, it's a first-world problem, but it's still F-ing hot in here!

ETA: In the end I only had to cut one new 2x4 (then remove and reinstall the A/C unit because it was 1/8" too long to just slide under the damn thing). Then packed leftover pieces of insulation around the edges and my 3 are done. Thorin has his own process for installing the one in his room. Turned them all on, plus the big one on the landing and the two in the attic. And magically, the house is cool again. It's 1 am now and still an astounding 79 degrees outside (!!!) but I guess I'll turn off the ones in the rooms I'm not using, turn up the one in the bedroom, and go to bed. A good day's work. 
dreamshark: (Default)
Okay, it still needs a little work....

The delivery guys carried all 8 boxes (weighing up to 98 pounds) up two flights of difficult stairs to the attic. Totally worth the $40 delivery fee!  Plus the $10 tip for the extra set of stairs. 


Great. Now the Rich Text editor is broken, won't let me scroll down to edit text below the image.
dreamshark: (Default)
There was no compelling reason to cover the insulation in the back room, which is basically a storage room, except that I had been hoarding this pile of pine tongue and groove beadboard for at least 20 years and I needed to do SOMETHING with it. I even cut some pieces at an angle to fit against the roofline, which involved a lot of galloping up and down two flights of stairs and out to the garage, which is where the table saw lives. My first attempt had some problems relating to the fact that the window and the raised floor have different ideas regarding what constitutes "horizontal" but I finally ended up with a pretty decent looking wall. 


Then I proceeded to cover up most of the new wall with my lovely new Gladiator Steel Shelving Units.


Spent much of yesterday and today cleaning out the hastily filled storage areas and arranging boxes on the shelves. It's starting to look pretty nice back there. And there's still enough empty space so that I can use the room as something of a workroom. I may actually bring the table saw up there when I get to the part where I'm cutting wood to put on the walls of the main room.
dreamshark: (Default)
Electric, insulation, and floors are now done and room is usable again. I still need to cover the insulation on the last two walls (which I can do myself) and the ceiling (which I probably can't). Yesterday I moved most of the furniture back in (with a couple of trips to the hardware store to buy more little felt footies for the furniture feet) and hooked up the TV. The most amazing moment - when I realized that I could run up there in bare feet after my shower! For the whole 35 years we have lived here the attic floor has been so splintery that you couldn't go up there without shoes. Now it is the smoothest and (temporarily) the cleanest floor in the house!

Here's a shot of the "living room" portion of the attic at night. TV-watching furniture is still a little sparse. The plan is to find a nice sleeper couch at Ikea. (It pretty much has to be Ikea because if it can't be assembled in the attic there is no way to get it up the stairs). There's also a big wood rocking chair that can go back up there, but I think I'll give the floor a little more time to cure. I already managed to scuff the floor moving some big furniture, even through two layers of heavy drop cloth. Ouch.


And here's the same area in the daylight.


The reading nook I always dreamed of having up here when I put all that barn wood on the walls back in 1986.


And here's the view FROM the reading nook, looking back towards the stairs.


dreamshark: (Default)
Floor is done!!! The high gloss finish is so blinding that it is a little hard to get a good picture. But it looks fantastic. I went with water base polyurethane to keep the wood as light a color as possible, and high gloss for maximum pizzazz, trying to lighten up the room. 

While Troy was applying the varnish I googled Douglas Fir and learned a few things about it. Every wood has its own appreciation society. One website informed me that Douglas fir gets a bad rap because of its low score on the Janka hardness test, but it makes up for its low Janka rating with an excellent modulus of elasticity and various other technical terms that mean "it keeps its shape and never warps."  Sure enough, the boards on this poor mistreated old floor are flat and crisp, and sanded out beautifully. A few plastic wood patches here and there, but no deep stains or damaged areas and absolutely no warping. It's really gorgeous. The variations in grain are a little startling. In some ways I wish all of it matched the lightest pieces with the close parallel grain (apparently the highest quality of Douglas fir planking). But the variations in grain are artistically pleasing in their own way. I really love the look and feel of wood.


dreamshark: (Default)
The Floor sanders are here, but having trouble with their equipment. They have a giant sander that needs 220V. Of course most homeowners don't have 220V outlets, so they opened up the circuit box and somehow hooked a giant extension cord to it in a way that gives them 220V (?) . I showed them where they could drag their cable up the clothes chute to get it closer to the attic. So far  so good (other than some good-natured grumbling about the number of stairs involved). Then they turned on the sander and the gremlins hit. Their little electrical meter said they had the electricity right, but the sander wouldn't start, so they sent one guy back to the shop to get another sander. Then they plugged their giant vacuum into the same big cable and the motor burned out. Hmmm. Think there might be something wrong with that cable hookup?  Turns out they can actually plug the vacuum into a regular 110 outlet, they just didn't trust the wiring in the attic. As it happens, there are three 20-amp circuits DEDICATED to the attic! (maybe they should have asked). So when the guy gets back with the new vacuum, they can plug it in to the circuit with the brown outlet covers, and use the white circuit for the small sander. But I think they are on their own for that big sander. Chad assured me that they can get it figured out and started work with the edge sander. I hope he's right.

Here's a Before picture of the floor. It is Douglas Fir tongue and groove that looks like it was last refinished in the 1940's with some kind of hideous orange varnish. It is now worn down to the point where you get splinters if you come up here without shoes. I have visions of it sanded and smooth, finished with 3 coats of high-gloss varnish, looking like a dance studio floor. Except not maple, of course. I decided to go with the slightly less durable water-based polyurethane because the guy says that oil-based would darken the wood more. He seemed surprised that I wanted high gloss - apparently nobody chooses that these days. Everybody wants that mellow, golden glow, like we have in the oak floors downstairs. But I have a different vision for this room, and want maximum light. 
dreamshark: (Default)
I had the long weekend for a leisurely transition between insulation installation and floor sanding. You'd think there would be nothing to it, since the furniture was already cleared out of the main room for the insulation, right? But no, there were two overlapping areas involved. For the insulation job I piled all the furniture into the paneled gable on the north side. That was pretty easy because you could just slide the furniture - no maneuvering through doorways or lifting things onto that stupid 2-level floor in the back. But now we need to get everything out of the front room entirely to do the floor, so more moving and lifting and carrying. Before I got around to emptying the room I had the rest of the weekend for things like this:  assembling my first new storage shelf in the back room (before it filled up with banished furniture).

This is a Gladiator EZ-Connect shelving set, 6' x 3' x 18"  It is perfect. I was able to assemble it all by myself with only my trusty rubber mallet. The rubber mallet IS essential however - otherwise I don't see how anybody could get all the pieces to seat completely. So the "no tools" promise is not quite true, but almost. The nifty wooden back panel is not part of the shelf. I had a bunch of old pine paneling that I think came from Barb Jensen's attic many years ago that I keep intending to use to cover the walls back here. This chunk (an old door, I think) just happened to be the same size as the shelf. I nailed it to the attic studs and set the shelf up in front of it. 

dreamshark: (Default)
 Not even sure if that is the right generic term. Tradespeople? (although so far all of them have been men). I'm talking about the electricians, insulation installers, etc. who actually show up at your house to do the work after you've contracted with their employer to provide a service. 

I gave $20 to the young junk haulers for being exceptionally cheerful and friendly and not complaining about the disgusting state of the attic. And $20 to the insulators that were scheduled at the last minute to show up on a Saturday because of a scheduling problem. In both cases they seemed pleased but surprised. I didn't tip the electricians. They were competent enough, but didn't do anything beyond their expected job. Besides, I figure electricians are paid a lot better than the college kids that haul away junk. 

Those of you that are having work done on your houses - who do you tip and why? When is a tip expected?
dreamshark: (Default)
To the untrained eye, this picture doesn't look much different from the before shot. In both cases, the ceiling is a billowy pile of insulation covered with plastic vapor barrier. But the old insulation was a sodden mess full of dirt and squirrel filth, drifted into empty spots and heaps, bulging old plastic threatening to collapse at any minute. Now it is a nice even expanse of pristine pink fiberglass batting covered with soft, shiny new plastic. And here and there a startling accent of fire engine red tape. I think it looks great.

After the insulators were done, Thorin helped me move the furniture back out of the alcove and into something resembling the final configuration I have in mind. It will only stay that way for four days. Then we have to move the furniture somewhere else so Dave's Floors can come and finish the floors. Then it will be beautiful and completely usable. Half the walls and most of the ceiling still needs something over it, but I have a line on more barn wood for at least the walls.


In some ways the back room is more transformed than the main room. Since we moved in it has been bare ceiling planks and walls with shreds of old insulation and dust clinging to them. The new insulation makes it look like a room. A half-finished room with barely adequate insulation, sure, but a ROOM. 

dreamshark: (Default)
We used Edison Electric. I would heartily recommend them. It's a small company with a process that seems geared more towards smaller jobs (1 day or less). When you call them you get an actual person who asks you about your project and makes an appointment allowing for what seems like the right amount of time. When the truck shows up, they look things over and do the estimate on the spot. If you accept it, they just start right in and do the job that day.

Because they charge a $79 site visit fee, the downside is that if you want to collect multiple bids (or don't like their proposal) you still have to pay for the site visit. But the upside is that if you trust them to give you a fair bid, you just call them and the job gets done. Their prices seem very fair and the electrician they sent was prompt, polite, professional and did a great job. As it turns out, he wasn't able to do the whole job the first day, so they scheduled a second day with no site visit fee. This was necessary because we saw that there was squirrel damage to the wires disappearing under the old insulation and they couldn't fix that until the insulation was out.

When they came back today I had opened up an exciting new storage space in the SE corner of the attic, totally unimproved but ready to be developed into 60 more square feet of under-eave storage. There was also a vital electrical cable traversing this space that had been savaged by squirrels and needed to be replaced ASAP, so it's a good thing I opened up this hidden area. Anyway, they fixed that cable (among others) and installed this cool pull-chain light in the new storage space. When the insulators come back on Thursday they will put some insulation in the ceiling. Then I'll finish the kneewall, add an access door and possibly put some plywood on the floor, and we'll have a new "room." I have dreams like that all the time, where I keep finding new rooms in an old house (often in the attic). So exciting! And now much less likely to burn down due to stripped insulation. I also have an air conditioner outlet on a new, almost empty, 20 Amp circuit and another new 4-banger in the space by the stairs where I plan to put the kitchenette.


In other news, Richard has the angiogram referral that he hoped to get, it looks like refinishing the attic floor really will be under $2000, Laura took a box of fabric that I needed to give away, and somebody on Freecycle wants those two beautiful plate glass mirrors from the Leamington that I never really found a use for. It's been a busy day.


dreamshark: (Default)
After a rocky start involving a broken down truck and a last minute rescheduling, Tony and Jason showed up bright and early this morning and demolished the old insulation. They were done in 2 hours - and they even swept the stairs and took away the box of fiberboard fragments that we hadn't managed to get rid of. Great guys.

Here's that same old iconic shot of the main room of the attic with all its clothes off.


Just a reminder how complex that insulation framing really is.
dreamshark: (Default)
Oh look, you CAN post multiple pictures at a time by Email. You just have to edit the thing extensively after the fact because ALL THE PICTURES ARE AT THE END. I hate you, Dreamwidth.

Anyway, fast forward past many hours on the Internet and phone engaging and scheduling interleaved visits from The Insulators and The Electricians. Because the squirrels chewed on the wiring, we have to do this in two stages: remove the old insulation, then bring back the electricians to inspect and replace the damaged wiring that is now exposed, and then bring the insulators back for the installation phase. I had it all perfectly scheduled to start today (Friday Aug 23). That meant working 3 long days in a row cleaning and throwing out and moving all the stuff in the attic.

Here's what it looked liked on Thursday morning.

And here's what it looks like now!  Pretty amazing, right?

It turned out that we hardly needed to use the newly revived back room after all. Almost everything has been crammed into the barn wood paneled Reading Nook, which is not being worked on. I did all the cleaning and organizing, but thanks to Thorin (and even Richard, right at the end) for help packing the furniture in.
dreamshark: (Default)
The first carpenter who looked at the attic floor job insisted it would take 3 people a week and cost $2000. The next one wanted $4600. Mind you, we're talking about replacing 8 pieces of plywood on a rough attic floor, not the Taj Mahal!  I'm pretty sure this was their way of saying, "I don't want to do your crappy little job," but I would rather they just said that instead of making up ridiculous stuff.

Anyway, I discovered that Home Depot will CUT PLYWOOD TO SIZE FOR FREE and just did it myself (with a lot of lifting and carrying help from Thorin). It only took us 4 days, and we only worked on it 2-3 hours/day (because I am old and out of shape, and Thorin was not really interested in the project). But we got the floor down. And even more important, I filled the ShopVac 3 or 4 times with shredded insulation, dust, and old squirrel droppings. I even vacuumed the ceiling. Yes, it was disgusting, but the room is about as clean as the back room of an attic ever gets, and no longer smells. Here's what it looked like on Aug 16: almost done.

Actually, I have an even better picture where that weird diagonal brace sticking up out of the floor is gone and the last two panels of plywood are in, but it was hard enough getting this picture posted so I'll just stick with this one.

dreamshark: (Default)
The goal was to replace the befouled and collapsing insulation in the main room, but first we had to deal with the collapsing floor in the back room. Because we needed someplace to put the furniture from the main room so we could get the insulation replaced. Some fool had put in a raised, insulated floor decked with that awful fiberboard made out of sawdust and formaldehyde. That stuff that melts when it gets wet. Well, guess what. The roof leaked and it got wet. *doh*
dreamshark: (Default)
One photo at a time, since that's how Dreamwidth wants it.

So we have this big beautiful attic which we kind of half finished in the 1980's. It was a fairly usable room for awhile despite the splintery floor and non existent ceiling, but entropy took over and things degenerated. Some folks may remember when we had music parties up there, or played games. But the main room gradually filled up with stuff and the squirrels trashed the back room and the insulation. So things had reached the point where about all you could do up there was watch TV from a broken down old love seat and a handful of chairs. And it kind of smelled. 

Daughter Amber offered to come visit in July to try to kickstart my vague ambitions to do something about the situation. By the time she actually got here she was pregnant and not feeling good enough to actually do any physical labor, but she did the important thing - set us a deadline. She found a junk hauling service and made an appointment for them to come haul stuff away on July 26, 3 days after she headed home. This forced us (and by us, I mostly mean Richard) to buckle down and start sorting the umpteen zillion boxes of books, fanzines, and random possessions that had filled the back room and overflowed into large portions of the main room. Astoundingly, he DID it! Somehow our daughter was able to accomplish what years of wifely nagging had failed at. So Junk Genius showed up as scheduled and hauled away 1.25 truckfuls of trash. Here they are breaking up the nasty old couch and the giant box spring that had been sitting in the north gable since we moved in. (We still don't know how the previous owners got that thing up the stairs. It sure didn't fit down them. The nice boys from Junk Genius went at it with axes and sledgehammers, and it's finally gone!)
dreamshark: (Default)
 I called the Mpls Solid Waste number and after a couple of runs around a voice mail loop got someone who told me to just put it out with the garbage labeled "solid waste."  Yay for Minneapolis and their stellar waste collection services!!  

So Richard and Thorin rolled it up and tied it with a couple of ropes and then all three of us heaved it out the back window. Yow! As Lydy warned, that thing is freaking HEAVY. The guys seem to think that they can wrestle it to the alley without me, so I'm letting them work on it. 

Meanwhile, the wooden water bed platform has some drying out to do. Turns out it was leaking in more places than we realized and there is a lot of wet wood. Fortunately, the platform seems to be made of extremely good quality plywood and shows no sign of splitting or rotting. I hope there's a new liner in that waterbed mattress box, as the old one was pretty much done for and is rolled up along with the mattress.

ETA: I knew that was too easy. When I opened up the box with the new waterbed it did NOT contain a liner. I double-checked the invoice, and it definitely listed a liner as part of the purchase. Called the store. Apparently a miscommunication of some sort - he seemed to think that I had decided to get the "value package" without the liner after he had already typed up the invoice or some such thing. That wasn't my understanding. And I didn't feel like another 50 mile round-trip drive to pick up the liner. So he agreed to "send it down on the truck," which would get it here tomorrow. But then he called back and said the truck had left already so it won't arrive until Thursday. *sigh*  So two more nights in the guest room. At least that will give the plywood time to dry out thoroughly.
dreamshark: (Default)
 So far so good. Following tips from seekerval (LJ only) and [personal profile] lydy , we trekked to the far NW suburb of Anoka and purchased a replacement waterbed mattress. There was, guess what, construction on Hwy 169, but other than that it was a pretty easy trip. But by the time we got home it seemed too late to start a major project so we both slept in alternative locations for yet another night. Today we stripped the old waterbed, ran a hose through the window, and started draining it. I vaguely remember last time we did this trying to pour water from a pitcher into the end of the hose to get the air out (WTF?). This time we turned the hose on long enough to fill it with water. Duh. What were we thinking? Anyway, working fine so far - hose is currently watering the highly invasive buckthorn hedge. 
dreamshark: (Default)
 Way back in June 2016 a guy came to the door selling shares in a Community Solar Garden. I've heard about these before and was already interested - otherwise I wouldn't have let him in. But it did sound pretty good. Save money and do good for environment at the same time. Somebody else is paying to build the solar farms (including government subsidies, I believe) so there was no charge up front to consumers. But they had to have people signed up before they could start building the solar installations.

16-18 months went by. I got a packet in the mail, but nothing changed on my electric bill. 

Until today. I went online to look at my Xcel bill and it was $137. Now most of you are probably saying, "Whoa! That's a huge bill! You got scammed." But you don't know our electric bill. (Think about it, if you have been to our house, or even driven past it). Our usual bill this time of year is close to $200. And sure enough, this one was $197... before the $61 Sunshare credit was deducted. Zowie!  

dreamshark: (Default)
 Beast Wildlife Exclusion has mostly come and gone. They spent two days nailing metal sheeting over the many squirrel holes in our eaves and installed a couple of complicated exterior squirrel traps that I can't entirely explain. There's a long chamber of wire mesh hanging from the eaves that is supposed to entice and then imprison squirrels exiting the premises. And then there's another ingress trap that is mostly up on the roof over the egress trap that... I don't know how it works. I think that squirrels trying to get back into the house get redirected into the egress trap, but at least one ended up stuck in the ingress part so who knows?

Honestly, the whole arrangement looked really unlikely. But somehow it managed to ensnare 6 squirrels over 3 days! I am cautiously optimistic. 
dreamshark: (Default)
 Inspired by [personal profile] pameladean 's posts detailing her odyssey of home repairs and adventures, I finally nerved myself up to call the squirrel whisperer she recommended. Should have done this 20 or 30 years ago, but I find dealing with home contractors so terribly daunting. We've had the squirrel holes sealed up several times as part of other repairs, but within a few months the little buggers had gnawed their way back in. Last summer I finally bought a Havahart trap and relocated 5 of them to Hidden Falls, but after a few squirrel-free months a new one showed up and has been terrorizing us ever since. This one is an absolute Houdini. I set that trap at least 20 times with results that were satisfactory only to the squirrel (who now thinks of our attic as a Squirrel Buffet). Sometimes it extricated the bait without springing the trap. But more often the trap was sprung, bait devoured, but no squirrel to be seen. I think it must be muscling it's way out, which none of the previous squirrel iterations could do.

Anyway, I called Beast Wildlife and made an appointment for Thursday afternoon. The inspection costs $125 up front, so this is no minor commitment. But our homegrown, half-assed methods haven't worked, so here we are